Showing posts with label garden. Show all posts

Monday

Heirloom Peas


One of the things I like to play around with, is saving
 seed from this years garden to plant in next years garden.
I planted a short row of heirloom peas
just for the seed this year.
I think every one of my adult kids came in with a handful
of fresh picked peas and said,
"Mom you forgot to pick your peas."
~geesh~

It is never hard to find someone to help
shuck the seed out when they are dry......
Kids and adults love the job :-)


Well dried and then stored in a ziplock bag
down in the cool basement.
Next year.....you can pick my peas for me kids!

.....dr momi

Thursday

Trenching In The Tomatoes


I start my tomatoes from seed each year.
I don't have a green house and always start too early.
So by planting time, this is what they look like.
(They've been leaning against the window for support :-)


There is still hope for them.
In fact I think they fare very well this way!
I dig a trench rather than a deep hole and cover the whole
plant except for the last few leaves.  New roots will form
on the buried stem and I think the whole root
system just becomes very strong.


Yes, this is the same tomato!
I'm careful not to break the stem as I turn it upwards. 
  Some bunny manure and protection from the wind in the beginning.
.....and I'm dreaming of my first fresh tomato.


.....dr momi
Linked To: Farmgirl Fiday #58
Linked To: Rural Thursday Blog Hop # 17

Friday

The Outdoor Planting Of The Celery

Remember the "starting of the celery"
from the end of a celery stalk?


It got planted in the garden a couple days ago.
(It's a lot taller than the picture lets on.)


Along with 2 other just started ends.


      They all handled the transplanting with no problems at all!  After doing more reading on growing celery I learned that celery loves the cool weather.  I'm in the process of making a "shade shelter" to give it a break from the very hot sun coming up.

     You should have seen all the roots on the one I planted in the house.  There were no roots at all when I planted it in the dirt, but when I transplanted it -- wow!  Keeping the celery well watered is important, otherwise the celery will be stringy and try to bolt. (go to seed) Blanching 10 - 14 days before picking is important so it won't be bitter.  I'm going to try blanching one stalk with dirt and the others with a cardboard cylinder and then comparing taste.

     Here is a great article by Master Gardener Steve Albert that answered every question I had about growing celery.  I hope to get a celery yield this year!

.....dr momi

Linked To: Farm Girl Friday Bloghop #57
Linked To: Farm Fresh Friday #2

Saturday

Rabbit Manure For The Garden

     In my post the other day I forgot to mention another reason that I wanted rabbits besides for the angora wool -- for their wonderful manure!  My huge multi-family garden can use a little more help.

     Chicken manure is a "hot" manure and has to be aged, which means it has to sit a year before it can be spread onto the garden.  It means handling it twice.  Once to get it onto the pile that cures for the year, and then a second handling to throw it on the garden.  In my case all done with a pitchfork and wheelbarrow.    .....I'm getting too old for that. (Enter kids doing that part now.)

     Rabbit manure however, is a "cold" manure and can be spread directly on the garden!  .....well, some people might disagree with that and would rather see it composted first, but just as many people throw it right on.
 
Guess which group I'm in?

     "Bunny Balls" (rabbit manure) are very high in nitrogen and phosphorus, as opposed to many of the other manures which are missing the phosphorus.  From what I hear, a garden that has been built up with rabbit manure is one productive plot of land.

     The cage the kids got me to go along with the bunny was hand built by the seller.  It is a "double decker". The bunny can hop down a ladder to a caged in lower level.  We will be putting the cage directly in the garden and just moving it around. (Yes, I'm lazy)

A Billy Story

     The first couple times I cleaned the cage I decided to throw the bunny balls near my rhubarb coming up.

     I caught Billy (our golden retriever) smelling around it one morning before his breakfast. "Get out of there!"  "Come on...let's eat!".....it was if he said "just a minute".  He then proceeded to mark the rabbit manure and peed all over my rhubarb!!!!

   Anybody up for some rhubarb wine??

.....dr momi

Linked To: Homestead Barn Hop #59

Monday

Growing Celery


      Two years ago I really knew nothing about growing celery, but my chicken soup has got to have it. I only use organic celery because celery is one of the top 10 pesticided (new word :-) vegetables out there.  ....and since organic is getting a little pricey, I wanted to learn to grow it.  So, I started on a quest.  It really isn't something we regularly grow up north with our short growing season. (Wisconsin)

     Two summers ago I bought 6 started plants.  They grew beautifully, and I kept waiting for them to look like the ones I buy in the grocery store before cutting them.  That never happened.  Finally my husband wanted to plow that garden section for the end of the year, so I cut the tops that were there. (leaving the roots)  I was not impressed with the yield, and it had a rather bitter taste.  My husband dragged the garden.

     Imagine my surprise when the celery started to grow again!  He obviously hadn't pulled up the roots.  I actually got a lot more yield off those plants after I figured out that you can cut the top off and it just keeps growing. .....like I said, I knew nothing about growing celery!

     Last year, I started celery from seed in the house and then transplanted it.  It took a LONG time for it to get going, and then got smothered by a volunteer pumpkin plant I let grow.  I decided starting them from seed was a little too much bother, seeing as I don't have a green house.


My own picture of growing
celery :-)
        Enter Pinterest this year.  Pictures of the end of a celery stalk growing new leaves, were everywhere.  I had to try it.  I cut off the end of my organic celery stalk and set it in a bowel of water.  Within 2-3 weeks I had new stalks and leaves.  I planted it today.  When it gets planted in the garden I expect to keep cutting the tops off and getting a huge good crop to dehydrate or freeze.  I'll have to let you know how it goes.  If anyone has more advise on how to grow celery please share!  I'm trying to learn it all :-)


We'll see how it goes.


.....dr momi


Friday

Saving Asparagus Seed

   I save asparagus seed more for learning a skill than anything.  There's something in me that loves to save the seed, plant it, and watch it grow.  If your goal is to start a nice patch of asparagus, you might want to buy 3 year old male crowns in the spring.  They are perennial, and will last many, many, years.  Asparagus seeds form on the female plants.  Female plants are thinner, and I think tougher when eating, than the males.  So really, a bed full of the male plants is your ideal, especially if you have limited space. 


     The seed that I am gathering from female plants is from our "wild" patch.  All along our old horse fence, at every t-post, there is a few asparagus plants growing -- planted by the birds.  If we never get a formal asparagus bed going, Rick and I would have plenty for ourselves.  But, I'd like to have enough to pick for our big family meals.

     Every year I look at the price of asparagus crowns and just can't get myself to buy them.  So, now what I do, is every year I plant a big pot of seeds that I grow all summer, just like they are some of my flowers, and then transplant them in the fall.  You have to wait 3 years to be able to harvest.  These will be an old variety now unknown -- as opposed to the new hybrid crowns you would buy.  There will be male and females.  Some people pull the females as weeds.  I won't.  I consider the berries excellent food for the chickens.  I will air dry them, and feed them over winter.


Pick the berries when they are red.


Squeeze out the seeds into some water and gently work them clean.


Air dry them well.  Then gently clean off any remaining pulp before storing.


      About 6 weeks before you want to plant them, put them in a  bag in the freezer for stratification. (a pretend winter)  I start them in organic potting soil, outside.  No need to start them in the house.  They grow easy!

Linked To: Farm Friend Friday
Linked To: Farmgirl Friday Blog Hop
Linked To: Homestead Barn Hop
Lnked To:  Frugally Sustainable


.....dr momi

Forgot The Zucchini

I'm thinking I waited too long :-)


The chickens will like it :-)
Farmchicks Farm Photo Friday


.....dr momi

Sunday

Sunday in Pictures


I've been slackin' on my bloggin' because..........
I've been canning up a storm!
Thur. I had to go to Door County with Butsch to help support the
Lions Club Antique Show in Fish Creek.  (100 % of the proceeds after
expenses went to Leader Dogs For The Blind.)  Just so happens the
cherries were ripe.  Door County's nickname is Cherryland.
I canned cherries and.,....


Guess what else I made.
Yes...it's made with (tart) cherries.

Cherry Bounce!
Here's the recipe (at the end of the post).


Second year in a row at a very sad attempt to make
a garlic braid.  One of these days I just have to take the
 time to google how to do it!  I had to dig the garlic because
if they dried up all the way, I'd never find them in all the weeds!


Look how well my cauliflower is growing!!

(I honestly have no recollection of planting kohlrabi -- but I must have :-)
I thought it was cauliflower until just the other day LOL!)


My Mammoth Sunflowers took a beating in the
60 mile/hr. straight line winds that we had with
a thunderstorm yesterday.  The corn stayed up though!
Sure wish I could pack some rain up and send it out west
to all of you struggling with your gardens!


                                                      .....praying for rain out west.

.....dr momi

Farmchicks Farm Photo Friday


Saturday

Garden Invaders

     I tried that video tape fencing.  It sure does shine and shimmer, and make a noise in even a slight breeze.


     It did not break or stretch, and was easy to put up.  I only used two old video tapes I bought for 25 cents each at a rummage sale.    ..............but,.....and it's a big but,........it sure doesn't keep out the ducks!  Chickens were a bit more cautious, but give them time and I'm sure they will be in the garden too.  Looks like I will be buying net electric fence to keep them out. (all ducks and chickens are back in  their pens for now....awwhhh.)

    Look who else has been in the garden......


....a wild turkey.
Rick says it's a hen.  She probably has her nest close by.
Oh yeah....I'm sure she'll be bringing the babies around soon.


.....and a deer (or two or three)


.....and the fox.
I'm sure she is making a round every night.
Never know when I'll leave that chicken coop door open!

  I may put my small experimental fence up on the other side of the garden and see if it does anything with deer, turkeys, and fox.......not too hopeful.

.....dr momi


Thursday

Duck Prisoners


      The duck have been confined.......and they don't like it one bit!  They have been allowed to roam free all day long since early spring until just last week.  That's because the garden is just starting to pop up.  In about a month, I'll let them back out to roam.

      Rick (my husband) is always in charge of the sweet corn and potatoes in the garden each year.  I weed and take care of tomatoes, cabbage.......well, everything else.  Last year, Rick would come into the house after checking the garden and say things like, "some of that corn didn't germinate, I need to reseed some spots" and "dang, those 2 buck fawns are nibbling on my corn".

     I was clueless too, until one day when I watched the ducks go down the corn row just feasting away!

     I never told him.  :-)     (Sssshhhh -- quiet!)


Sunflowers for an appetizer.
     Two days ago he said,  "the corn sure did germinate better this year than last year!"   :-)
   
      When I do let the ducks out, I'm going to try that "video tape" fencing that I read about in this month's Mother Earth News.  Otherwise I have an awful big garden to try to fence in.  :-)


Pumpkin for the main course.


.....and corn for dessert!

P.S.  ......check out a time the "prisoners" did escape.  http://homesteadingatredtailridge.blogspot.com/2011/03/duck-escapees.html

.....dr momi


Tuesday

Happy Growing Pigs

     Check out how well the pigs cleared "quack grass city" in only a week and a half.  It's not perfect, but now I think I can get the roto-tiller in there.  It will all get turned under to help keep the smell under control.  In the middle I am planting some giant pumpkins.  If the manure doesn't burn them out, the pumpkin leaves will keep it shaded and weeds held down for this year.


"Gordo" is running around, playing like a dog.

     This last Sunday three of our guys just picked up the pen, and moved it to the next section of land to clear.  The pigs never got scared, just thrilled when all of a sudden green grass showed up :-).  It's taken them only 2 days to root it up like you see now.  I think they figured out what their "job" is!  The old dog kennel is working out great for now.  So is the old dog igloo for a shed.  They love it.  Rick is already building a lean-to for when they are too big for this.  We fit the old 50 gallon waterer that we had, with a pig watering spout, works like a charm.  We just have to get it up on some bricks so they don't keep pushing dirt up into it. Notice the fly trap is already in place, but it's been so cold, there really aren't any flies yet!!  Huh, blessing in disguise!
     Tonight for supper they had warm fish egg, fish spine, fish head and rice goolosh.  They were so full they couldn't eat another bite.  Then they started playing tag with each other.  They seemed awful happy to me :-)

.....dr momi


Farmgirl Friday Blog Hop


Monday

Eggshells & Coffee Grounds

     I've already started saving eggshells.  Not for Easter --- for the slugs.  :-)  The coffee grounds I'll wait for just a bit.  I started using the eggshells and coffee grounds last year, the second year that I ever planted cabbage. 

     The first year I planted cabbage, the heads were demolished -- it seemed like overnight!  Last year my organic cabbage was beautiful!!  ...and did I have a lot of it.  For what ever reason I started 1/2 flat of cabbage seed in the house last year, and every single one took.  (I had to plant them) That's a lot of sauerkraut and cabbage salad, when I am the one mostly eating it.  ---- I have got to get the rest of the family eating sauerkraut, it's so-o-o-o good.  I donated a lot of cabbage to the food pantry last summer. I didn't really expect all that cabbage to get to the full head stage.  They did, only because I sprinkled crushed eggshells (sharp on a slugs' little soft belly) and coffee grounds (I don't know why -- but it works) around every plant, and kept it up till harvest.  Lots of times I didn't have enough eggshells ready to go, that's why I'm starting early to save them.

     We will be making sauerkraut together this summer.......maybe you want to plant some cabbage too?
I always let the eggshells dry out for a day before crushing them.

Thursday

Gardening Without Gloves

     Two true statements  --- I hate wearing gloves when I garden. My hands and fingernails, and cuticles look tough all summer.  :-)  Sometimes I start out wearing gloves, and before I know it I'm forgetting to put them on.  Maybe there is something deep inside me that needs to feel that dirt. I don't know.

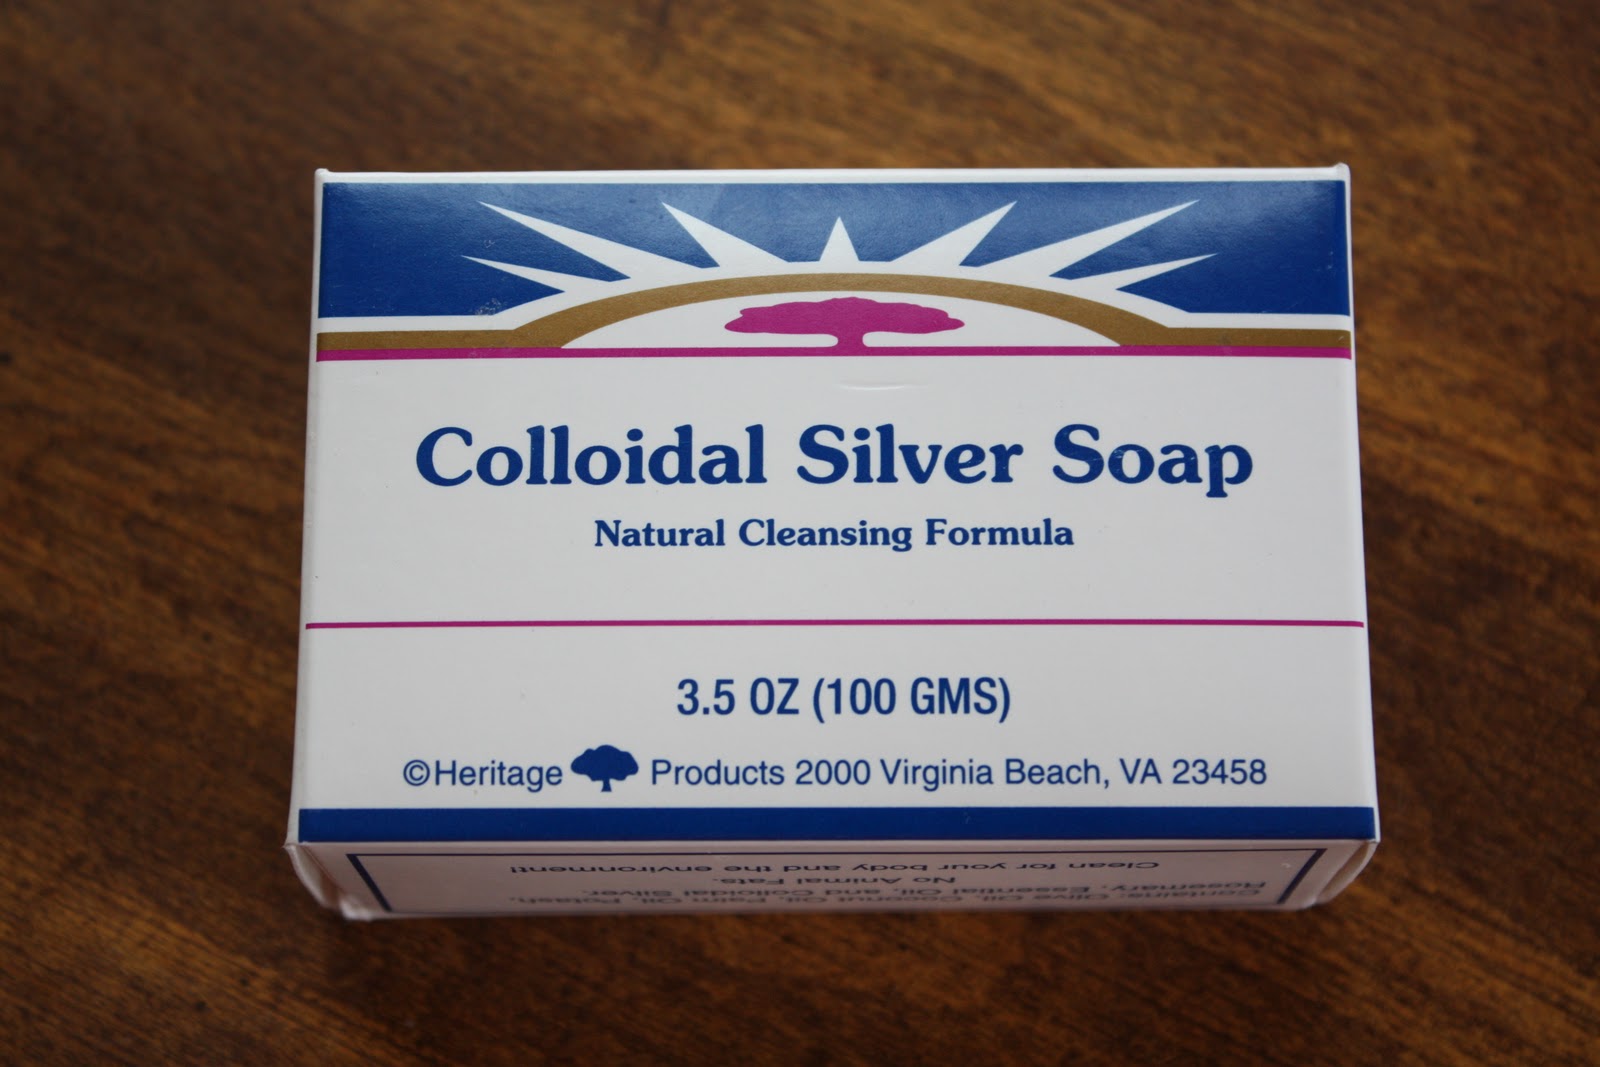
     I'm thinking about this because I spent another day planting seeds.  Even using potting soil, my fingernails and cuticles are taking a beating.  The potting soil isn't so bad, but I don't even want to know what I might be digging in outside when I know I have improved the soil with chicken and cow manure.  Cleaning up is really important.  Colloidal Silver Soap is what I like to use.  Any nice moisturizing soap (love the french milled soaps) could be used, but, it has to be a bar soap.  I like the colloidal silver soap because it is anti-bacterial, anti-fungal and moisturizing.

I buy mine at the health food store.

     This is what I do, make my hand into a "claw" and dig into the bar of soap, so the soap gets up
under my fingernails.  Then use my nail brush.  A good way to clean under those fingernails just before making supper :-)

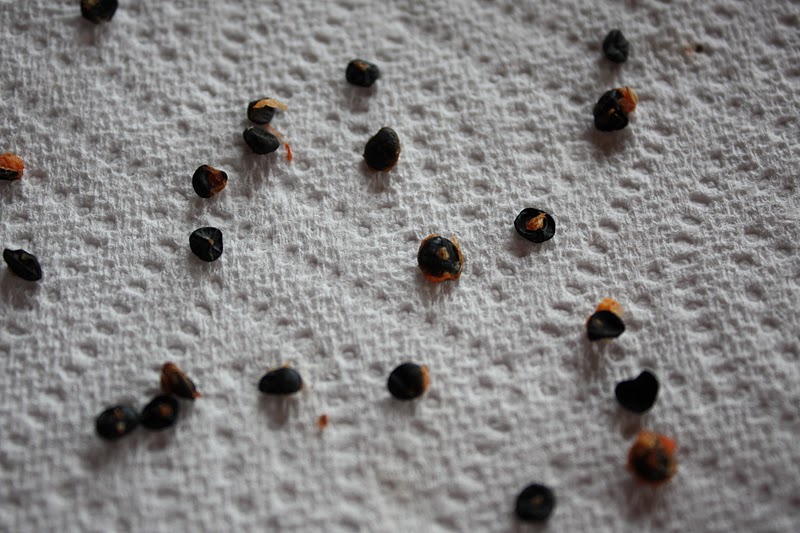
     P.S.  I planted perennial daisy, pink wave petunia, basil, purple verbena, parsley, fenugreek (playing around with it to see if it could be a supplement grain for chickens), and more gogi berry.  Looking like a greenhouse around here......

Monday

Wipe Out Kinda Day


The shovel is on the other side of that drift :-), and it's still snowing.
       As you can see from the picture, we got a lot of snow last night. 10 inches here, with another inch all day today.  The wind is something else and the drifts are huge.  Without 4 wheel drive, our driveway would be almost impassable.  It will be drifted shut again tomorrow, and we'll have to get the guy out to plow again.  We call a day like this a "wipe-out" day.  Businesses are open, but not many people are out and about.  At our chiropractic office the phone just kept on ringing   ----  with cancellations.  My path to the ducks was filled in with a 4 foot drift  ---  my legs aren't that long :-)

     These kind of days are great for staying home and tackling projects.  I used the day to plant seeds.  Things that I would plant outside in about 10 -11 weeks or, in the case of the violas and pansies, things that I wanted blooming for early spring.  So, besides the violas and pansies, purple wave petunias got planted, eight slips from my sweet potato plant that had roots, white petunias, and some purple millet.

     Last year I planted my tomato plants too early.  They were long and spindly by the time it was ready to plant outside.  I had to dig a trench and bury them 3/4 of the way up the stems. It worked, but I made a mental note to not start them too early this year........now if I had greenhouse.... :-)

Thursday

Grow Goji Berry


Buy organic dried Goji Berries


Soak the berries in water.


Squeeze out the seeds and let them dry on paper towel for a few days.


Plant the seeds.  (They look like sesame seeds) They will grow!
 Goji berries are good for you!
     Gogi berry info:

-the berries are extremely high in antioxidants.

-it is a deciduous, woody, perennial.

-likes lots of sun.

-plant it in a good quality garden soil but with enough sand in it for good drainage.

-a full size shrub can grow to 8 ft.

-it won't bear fruit till it's third year.


-I'm planting mine in containers till the second or third year.  Good Luck!

Friday

Ordered My Bees


The bottom has a screen covering it
or we can close it up with the hinged
board during the winter.

     Now I did it.  I really am going to be a beekeeper.  .......so much odds and ends equipment to get. (as in protective clothing) The bees will be coming sometime in April.   I ordered them because my husband just finished building me a top bar beehive.  It only took him a couple of hours out of his perch fishing time.  He says it is my Valentine's Day present :-)  --- I'm thinking some roses will show up too.

      I wanted a top bar hive because a regular hive gets so heavy when it is full of honey that I wouldn't be able to lift it myself.  I guarantee you that even though he lovingly, and willingly built the hive, my husband will NOT help with working the hive. :-)  A top bar hive I've heard, does not produce as much honey as a regular hive but does give you more beeswax.  The bees actually build the honeycomb from a bar on the top that you can lift out to harvest the honey.  I'll only be lifting "sections" of the honey harvest at a time.  The sides of the hive are at an angle to discourage the bees from attaching the comb to the sides and preventing you from being able to lift it out.  I'd love to use the beeswax in homemade lip balms, hand salve, and candles  --- something else new to learn! 


The whole top gets covered with these smaller boards.
These two will be at the ends so the bees can't build right
up to the end.  The rest of the boards are at my brother-
in-laws to get a strip sawed down the middle of them. It
will be the starting point for the comb to be built.
      Getting the bees never was about a lot of honey, don't get me wrong, we will use it, but getting the bees is all about pollination for me.  Wanting the bees starts with having a garden and orchard.  I'm always interested in what grows a better garden.

     There is lots of information on top bar beehives on the Internet.  We got the building instructions from a couple different sites.  The hive is built with untreated wood.  The inside will stay untreated for the bees health, but the outside has to get painted  ---- hhmmm how fancy should I get?